 delishing
How to Roast Butternut Squash to Perfection: A Culinary Guide

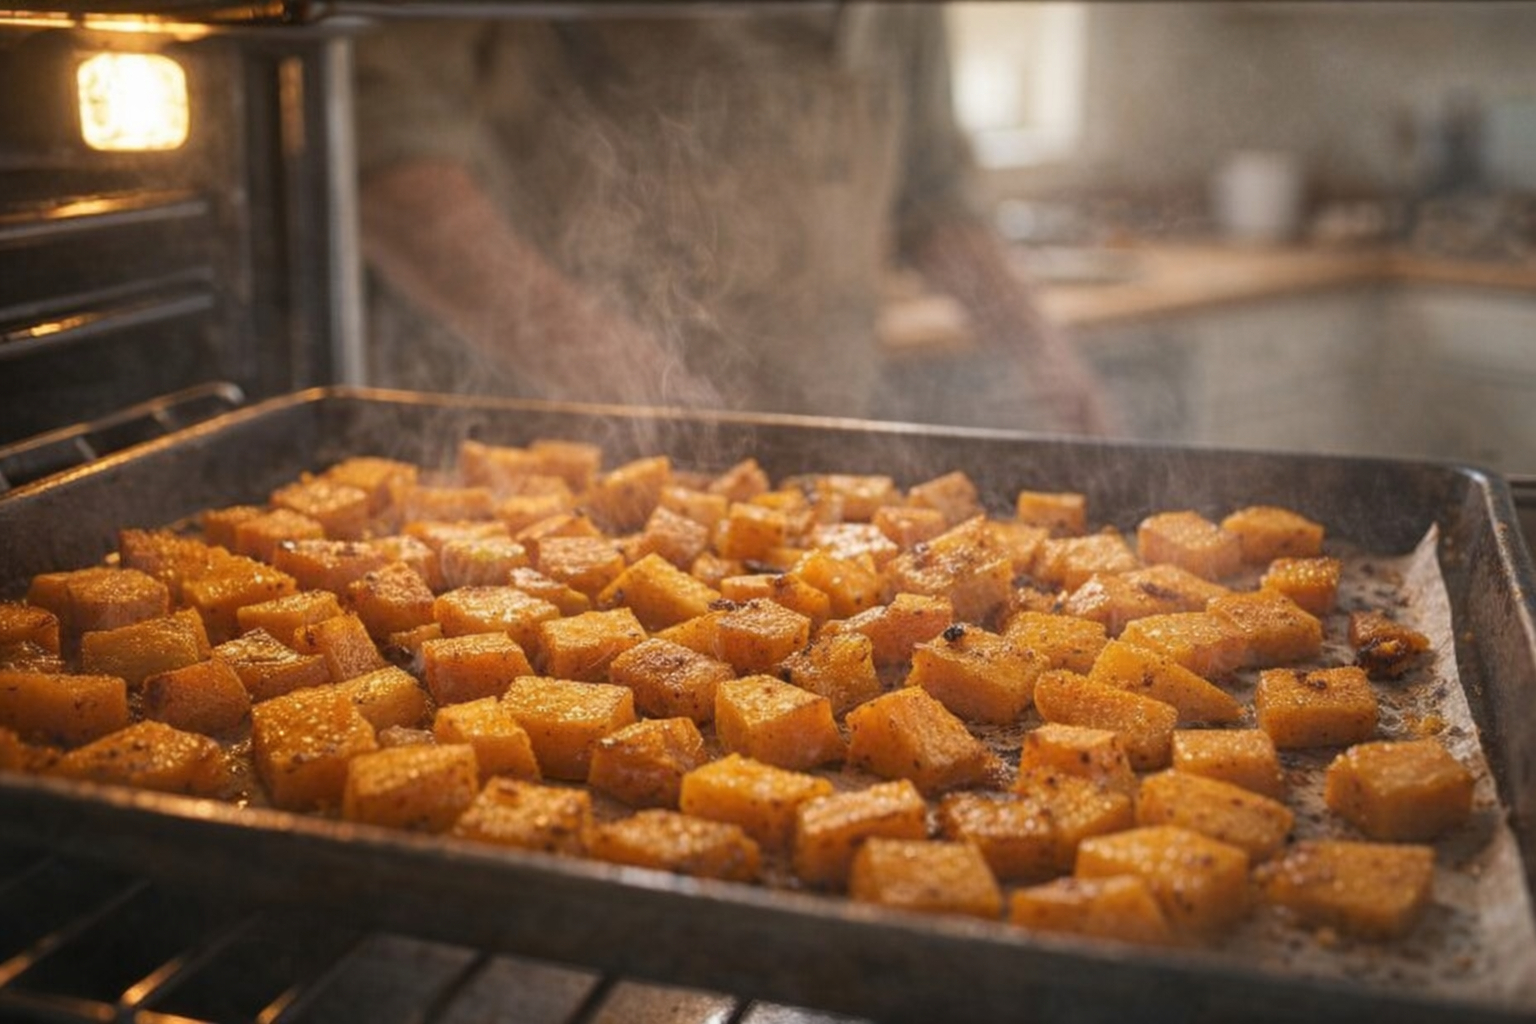
Butternut squash, with its subtly sweet and nutty flavor, is a versatile ingredient that shines when roasted. Roasting coaxes out the squash's natural sugars, resulting in a caramelized exterior and a tender, creamy interior. This method intensifies its inherent flavors, making it a perfect component for both savory and sweet dishes.
This guide focuses on achieving consistently excellent results with roasted butternut squash. We'll explore how proper preparation, precise temperature control, and a few insider tips will transform this humble squash into a culinary highlight. We will provide the tools you need to make this dish that is appropriate for a simple side dish or a central ingredient in more complex recipes.
Understanding Butternut Squash
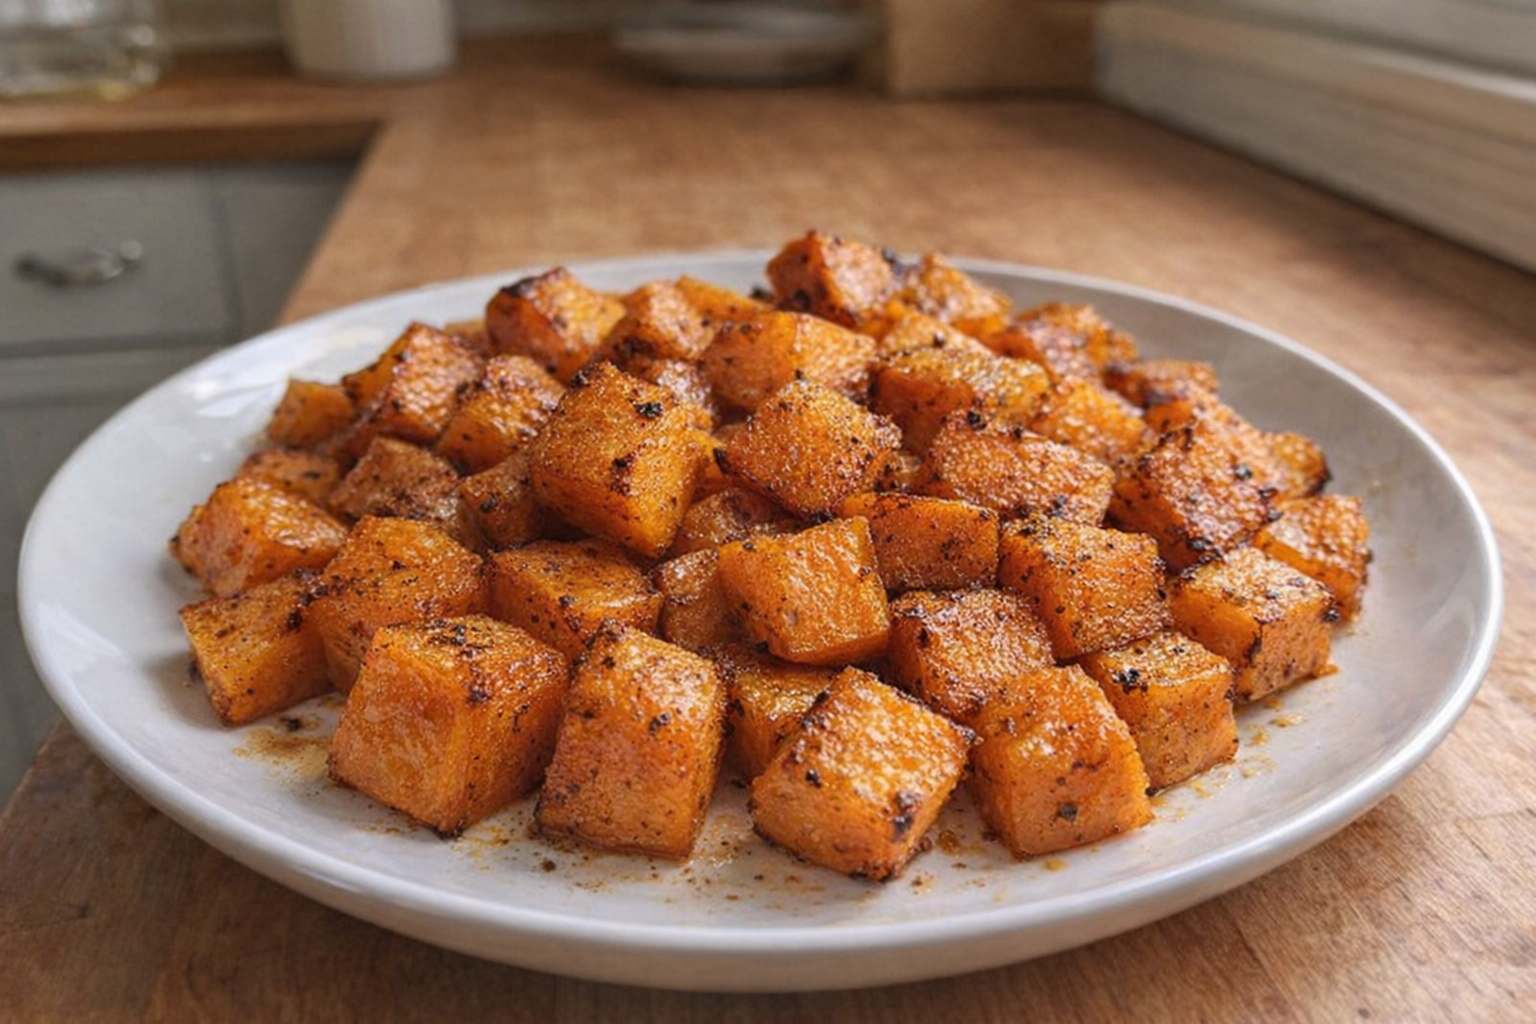
Butternut squash is a type of winter squash characterized by its elongated, pear-like shape and smooth, tan-colored skin. When choosing a butternut squash, look for one that feels heavy for its size, has a hard, unblemished rind, and a deep, solid color. Avoid squash with soft spots or bruises. Smaller squash tend to be sweeter and have a more concentrated flavor, while larger squash yield more flesh.
Why Cook Butternut Squash This Way?
- Versatility: Roasted butternut squash can be enjoyed on its own, added to salads, soups, pasta dishes, or even used in desserts.
- Flavor: Roasting enhances the natural sweetness and nutty flavor of the squash, creating a rich, caramelized taste.
- Convenience: Roasting is a relatively hands-off cooking method, allowing you to prepare other dishes while the squash is in the oven.
Preparation (Mise en Place)
- Washing: Begin by thoroughly washing the butternut squash under cold running water. This removes any dirt or debris from the skin.
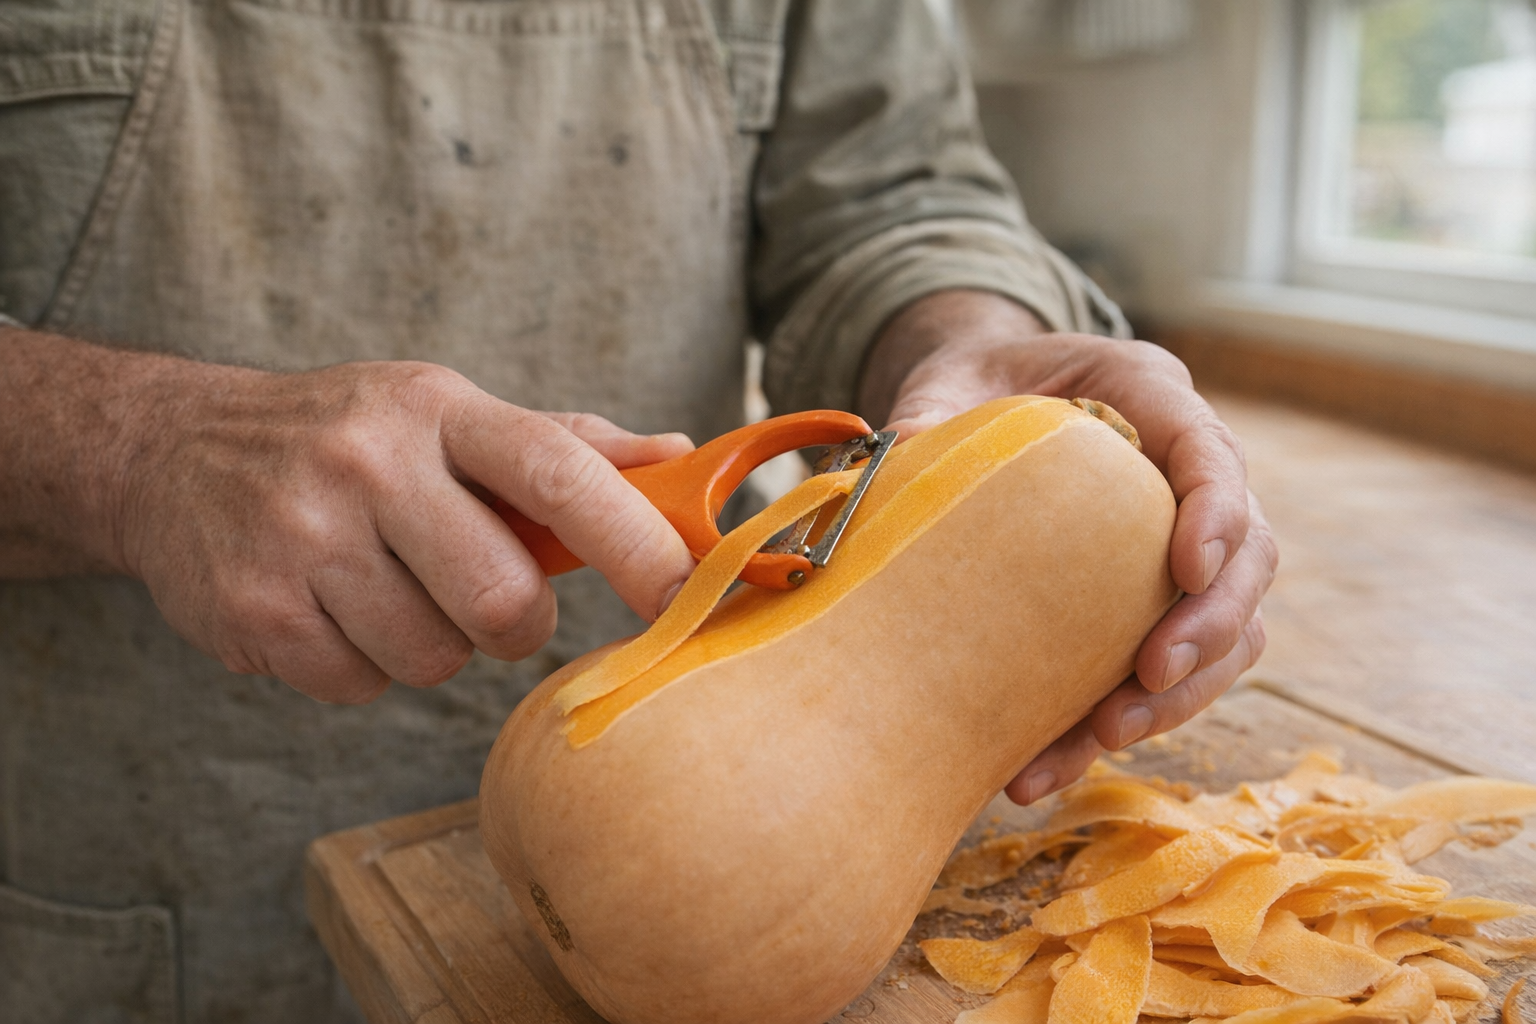
- Peeling: Use a sharp vegetable peeler to remove the tough outer skin. Be sure to peel all the way down to the orange flesh. Alternatively, you can roast the squash whole or halved, then scoop out the flesh after it's cooked – this method is easier but the flesh will be softer.
- Seeding: Cut the squash in half lengthwise, from stem to base. Use a spoon to scrape out the seeds and stringy fibers from the cavity.
- Cubing: Cut the squash halves into 1-inch cubes. Aim for uniform size to ensure even cooking.
Essential Tools
- Sharp Chef's Knife: A sturdy chef's knife is essential for safely and efficiently cutting through the dense butternut squash.
- Vegetable Peeler: A sharp vegetable peeler makes quick work of removing the tough outer skin.
- Baking Sheet: A large baking sheet provides ample space for the squash cubes to roast evenly.
- Parchment Paper (Optional): Lining the baking sheet with parchment paper prevents sticking and makes cleanup easier. We choose parchment paper for even better caramelization than silicone mats.
The Cooking Method
Method 1: Oven Roasting
This method yields the most consistent results, allowing for even caramelization and a tender, creamy texture.
Ingredients:
- 1 medium butternut squash (about 2 pounds), peeled, seeded, and cubed
- 2 tablespoons olive oil (30ml)
- 1/2 teaspoon salt
- 1/4 teaspoon black pepper
- Optional: 1/4 teaspoon ground cinnamon, nutmeg, or other spices
- Preheat Oven: Preheat your oven to 400°F (200°C). Ensure the oven rack is positioned in the center.
- Toss with Oil and Seasonings: In a large bowl, toss the butternut squash cubes with olive oil, salt, pepper, and any desired spices. Make sure each piece is evenly coated. The oil helps with browning and flavor development.
- Arrange on Baking Sheet: Spread the squash cubes in a single layer on the prepared baking sheet. Avoid overcrowding, as this will steam the squash rather than roast it.
- Roast: Roast for 20-25 minutes, or until the squash is tender and lightly browned. Flip the squash halfway through to ensure even cooking. The aroma will become noticeably sweeter as the squash caramelizes.
- Test for Doneness: To check for doneness, pierce a cube with a fork. It should be easily pierced with minimal resistance.
Cooking Time & Doneness Guide
- Total Cooking Time: 20-25 minutes at 400°F (200°C).
- Internal Temperature: While not always necessary, an internal temperature of 200-205°F (93-96°C) indicates optimal doneness.
Visual Cues
The squash should be tender when pierced with a fork, and the edges should be lightly browned and caramelized. Avoid overly blackened edges, which indicate burning.
Tips for Perfection
- Don't Overcrowd the Pan: Overcrowding the baking sheet will result in steamed squash instead of roasted squash. Use two baking sheets if necessary.
- Use High Heat: Roasting at a high temperature promotes caramelization and prevents the squash from becoming mushy.
- Season Generously: Butternut squash can handle a generous amount of seasoning. Don't be afraid to experiment with different spices and herbs.
- Properly store your Squash: Whole, uncut butternut squash should be stored in a cool, dark place, such as a pantry or cellar. Keep them out of direct sunlight and away from excessive heat or moisture. You can typically store them this way for 1-3 months, depending on the specific variety and storage conditions.
Storage & Reheating
- Storage: Store leftover roasted butternut squash in an airtight container in the refrigerator for up to 3-4 days.
- Reheating: Reheat in a preheated oven at 350°F (175°C) for 10-15 minutes, or until heated through. You can also microwave it for 1-2 minutes, but the texture may become slightly softer.
Serving Suggestions
- As a Side Dish: Serve alongside roasted chicken, pork, or fish for a healthy and flavorful meal.
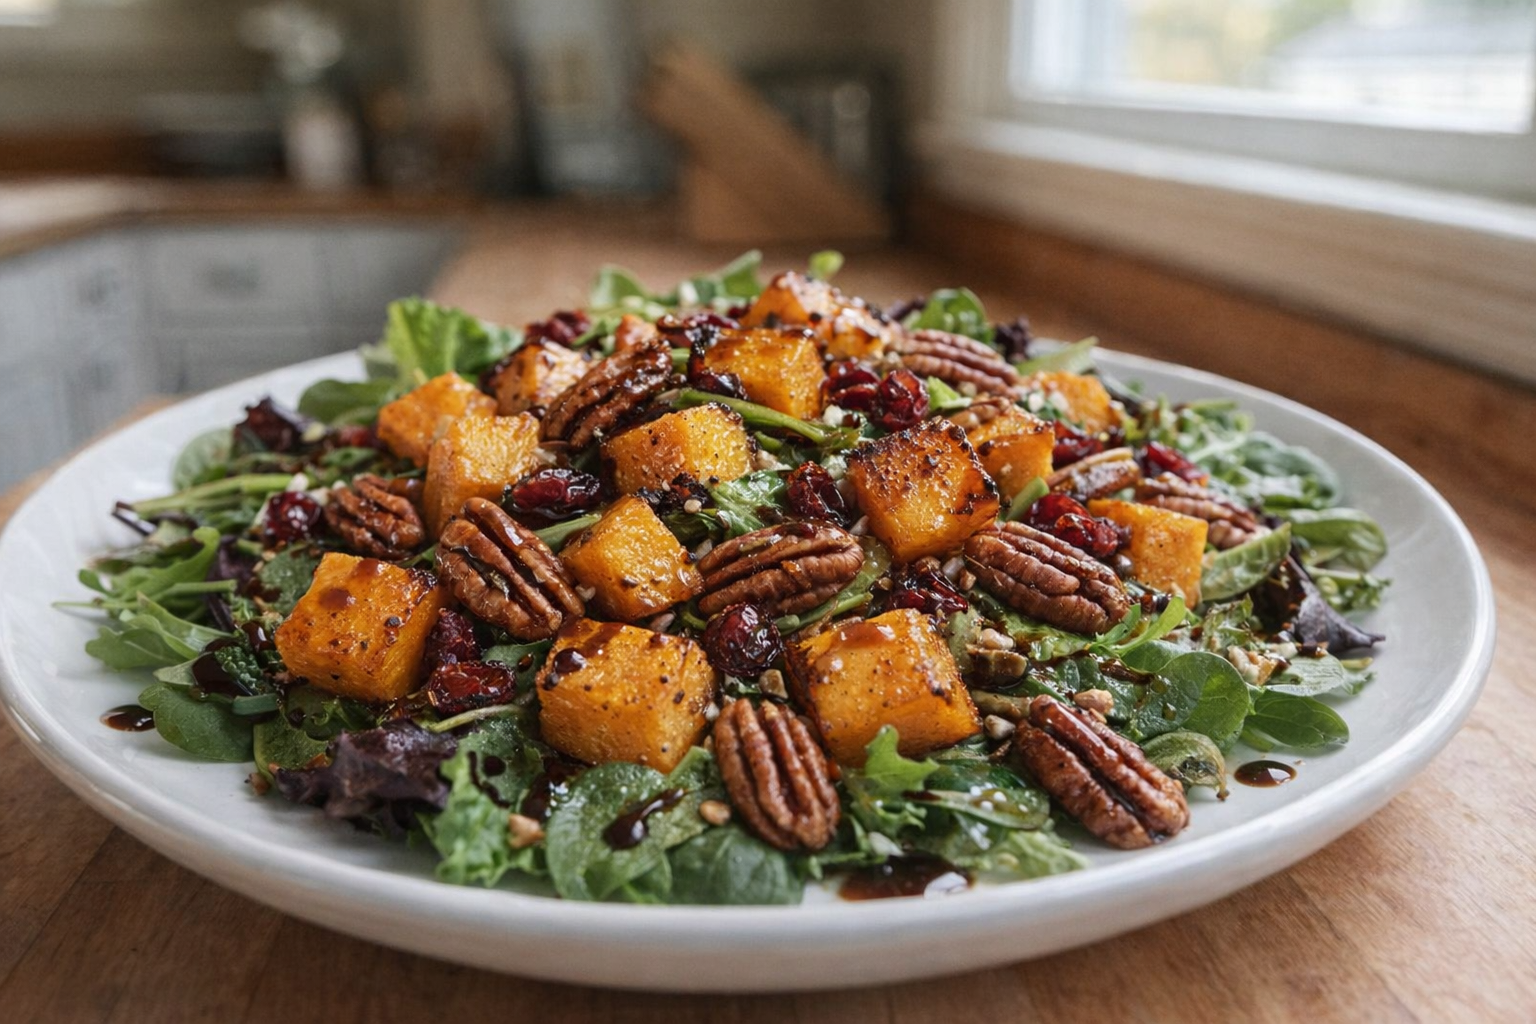
- In a Salad: Add roasted butternut squash to a salad with mixed greens, pecans, cranberries, and a balsamic vinaigrette.
- In a Soup: Puree roasted butternut squash with vegetable broth, cream, and spices for a creamy and comforting soup.
- In Pasta: Toss roasted butternut squash with pasta, brown butter sauce, sage, and Parmesan cheese for a delicious and satisfying dish.
💡 Pro Tips
- Peel the squash thoroughly with a sharp Y-peeler until you reach the vibrant orange flesh to ensure a tender, edible exterior.
- Cut the squash into uniform one-inch cubes to ensure even cooking and consistent caramelization throughout the batch.
- Toss the squash cubes in a high-smoke point oil like avocado oil and avoid overcrowding the pan to prevent the pieces from steaming.
- Roast at a high temperature of 400°F and flip the pieces halfway through the thirty-minute cooking time for a perfectly browned crust.
- Season with a pinch of salt and a drizzle of maple syrup before roasting to enhance the squash's natural sweetness and nutty undertones.
Frequently Asked Questions
To make cutting easier, try microwaving the whole squash for 2-3 minutes to soften it slightly. Be sure to pierce the skin with a fork a few times before microwaving to allow steam to escape and prevent it from exploding.
If you don't have parchment paper, you can lightly grease the baking sheet with cooking oil or spray. This will help prevent the squash from sticking and still allow it to caramelize nicely.
Roasted butternut squash can be stored in an airtight container in the refrigerator for up to 3-4 days. Make sure it has cooled completely before refrigerating to prevent condensation and spoilage.
Yes, you can substitute other winter squashes like acorn squash or kabocha squash. Keep in mind that different squashes may have slightly different cooking times, so adjust accordingly and check for tenderness.